You may have noticed the black papercut trees I made for the background of my Halloween design photos. I was wondering if I could reuse them somehow to create a new tutorial for Folding Trees, and I came up with the idea of using a candle to create a large shadow silhouette of the tree on a wall. The trees I had cut before weren’t suitable as I had cut them as background pieces at the edge of the scene (so there was only half a tree in each case!), so I drew and cut a new complete tree from black cardstock for this project:
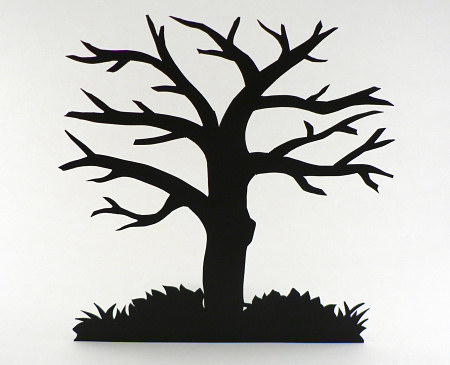
And here it is by the flickering light of a candle:
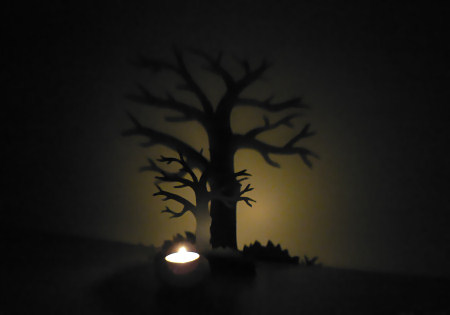
What a transformation! I’m so happy with how it turned out! My papercutting attempts are getting better each time I try it, and I’m finding it easier to do simple freehand drawing without a reference photo too.
Oh, and if you’d like to see the finished tutorial, you can now find it below!
This tutorial was originally published on my old papercraft site, Folding Trees.
Use the magical effect of candlelight to turn a papercut template:

…into a striking shadow decoration:

In the following tutorial I’ll show you how to make a stylish decoration like the one I made above, using only cardstock and a simple tealight candle…
I drew my tree freehand onto black cardstock. To draw a tree, you need to remember two basic things:
- Tree branches are thicker at their bases
- Side branches are usually offset from each other
Firstly, draw the trunk and a few main branches, then add thinner branches coming off the main branches. Keep adding branches and twigs until you like the overall shape and effect.
Easy option: If you’re not comfortable with drawing, you could use a stencil to trace a shape onto the cardstock, or print a shape directly onto your cardstock (the card doesn’t have to be black; it just has to be thick enough to cast a good shadow). I think the branches of my tree make for a very effective shadow shape, but you could keep it really simple: cut out the silhouette of a cat or a pumpkin and just cut holes for the eyes (and mouth for the pumpkin) to give you some easy Halloween decorations.
Remember to give your shape a wide base (grass/bushes in this example, but it could be a plain horizontal band) to help it to stand up securely. Carefully cut out your shape with a sharp knife, being careful not to chop off any of the details!
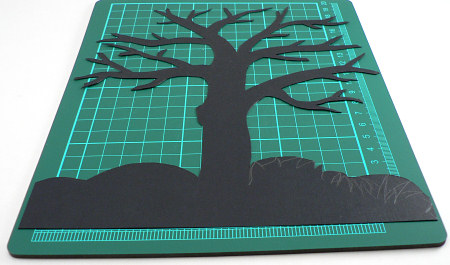
Papercutting tip: In the close up photo below, you can see how I cut out the overall shape (the rounded shape of the bush) before cutting the fine detail (the leaves). From this stage, it’s easy to cut out each small triangular shape. I find this method much easier and faster than trying to cut the whole outline in one step.
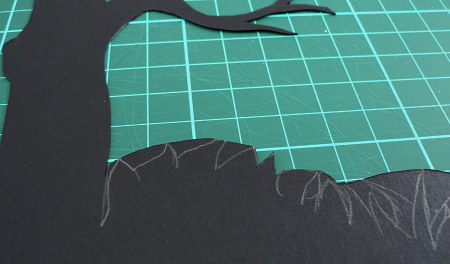
Make a stand for your template by cutting a modified L-shape or a right-angled triangle from some card. Make sure it is tall and wide enough to support your shape. I used a leftover corner of my piece of card to make this simple stand shape:
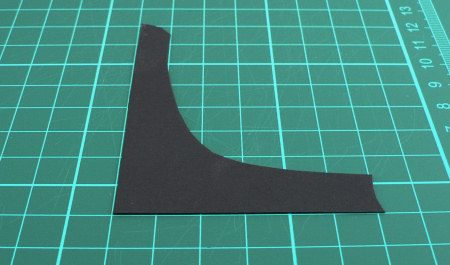
Position the stand so the bottom is level with the base of your design, and the vertical edge is in the middle of the design. If you still have visible pencil marks on your design, make sure that side is face up for this stage, so the pencil marks will be on the back of the finished decoration! Tape one side to the back of the template:
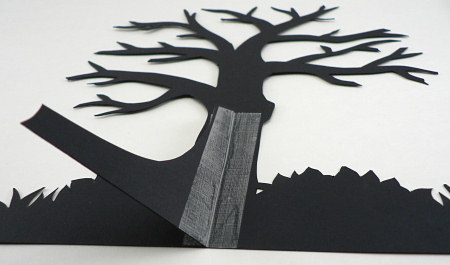
Flip the stand over, and tape the other side to the template.
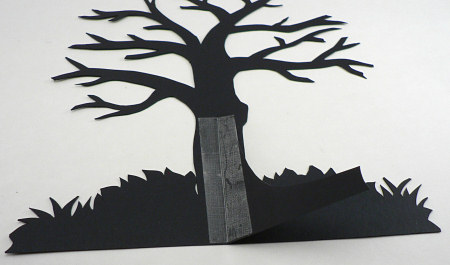
Now when you stand the shape up, the stand should stick out behind it and keep it upright.
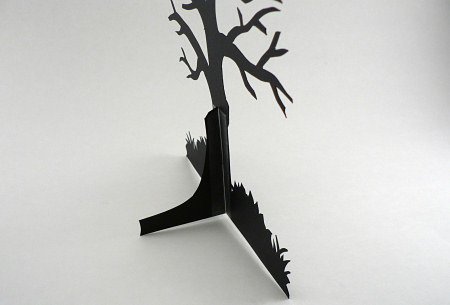
Here is the finished papercut tree:

Now stand your template up on a table close to a wall, but not touching it. Place a tealight in front of it, dim the lights, and watch out for the shadow on the wall! You can alter the size and definition of the shadow by moving the candle and/or the template towards or away from the wall.
CAUTION: Candle flames and paper are not safe playmates! Never leave a burning candle unattended, and make sure your paper template is secure and will not fall or bend forwards towards the candle flame. For maximum safety, use an LED tealight (although you may find that it is not bright enough to cast a strong shadow).


IdaDown said
Looks awesome. Make for a lovely romantic evening…
Oh2122 said
Those would be great at a halloween party. A couple on a shelf, a mantle, maybe even in an empty fireplace…
The tutorial is great too! Your tutorials are always very easy to follow. Thanks!