Origami Poinsettia Tutorial
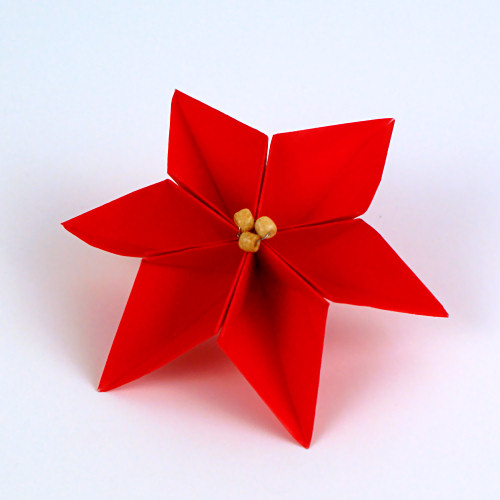
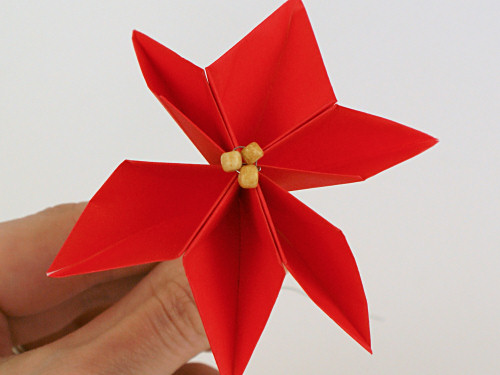
This paper poinsettia makes a lovely easy ornament. It measures 3″ (7.5cm) in diameter, but can be easily scaled to any size by starting with larger or smaller squares of paper. Beads or a button add a decorative finish.
This tutorial is Donationware – the instructions are available for free, but if you like it please consider sending me a donation to show your appreciation:
Send me a donation and receive the easy-to-print PDF version of the tutorial as a thank you!
Donations of any size are much appreciated. Just add the amount you wish to donate, and, once you have checked out and paid, your PDF will instantly be available to download from your PlanetJune account.
The complete instructions are available below, regardless of whether or not you choose to pay for them 🙂
This is a PlanetJune original tutorial. Please do not share or reproduce this tutorial; instead post a link to www.planetjune.com/origamipoinsettia
You will need:
- 3 squares of red origami paper (3″/7.5cm across or as large as you wish)*
- 12″/30cm thin craft wire (or sewing thread)
- Yellow button or bead(s) to make the centre of the poinsettia
- White craft glue
* Notes:
- The diameter of the finished poinsettia will be the same as the width of the starting squares.
- If you don’t have origami paper, cut squares from gift wrapping paper or other thin coloured paper.
Instructions
Note: As with all origami, this works best if you strongly crease each fold by running your thumbnail along each fold before moving on to the next step.
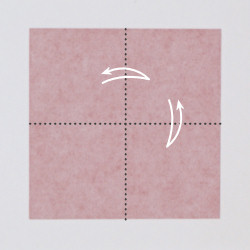
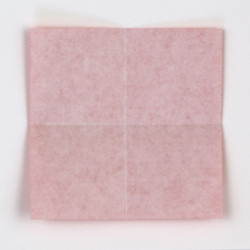
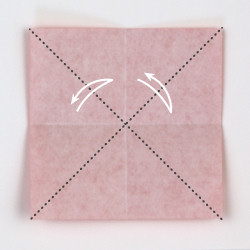
Step 1. Place a square of origami paper with the coloured side facing down. Fold it in half from side to side, crease and unfold. Fold it in half from top to bottom, crease and unfold.
Step 2. Now fold it in half diagonally, crease and unfold. Repeat for the other diagonal.
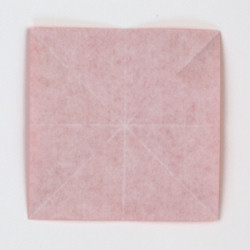
Step 3. Fold all 4 corners in to the centre (the point where all your previous fold lines meet).
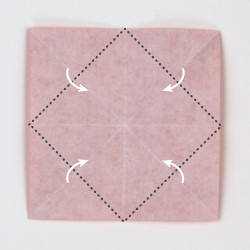
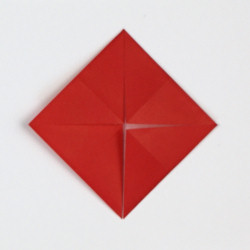
Step 4. Fold the top point down to the centre, and the bottom point up to the centre.
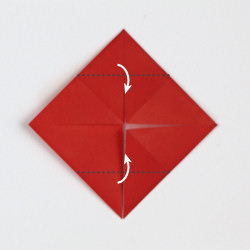
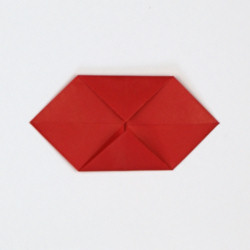
Step 5. Fold the bottom edge up to meet the top edge.
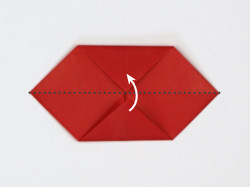
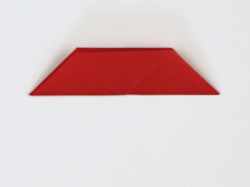
Step 6. Fold the piece in half from side to side, crease and unfold.
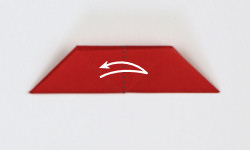
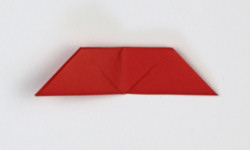
Note: Your first leaf piece is now complete.
Step 7. Repeat Steps 1-6 twice more, to make a total of three leaf pieces.
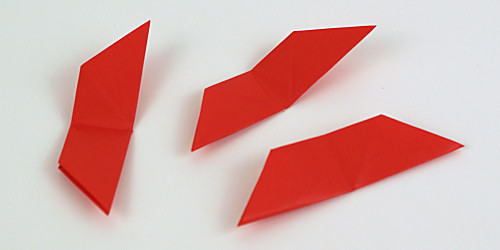
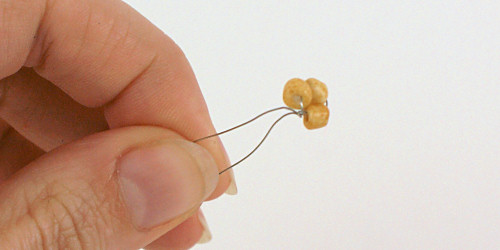
Step 8. Cut a 12″/30cm length of craft wire, or sewing thread. Slide your bead(s) or button to the centre of the wire/thread and twist/knot them in place.
Step 9. Hold the three leaf pieces together, with the wider edge of each at the bottom and the open ends at the top.
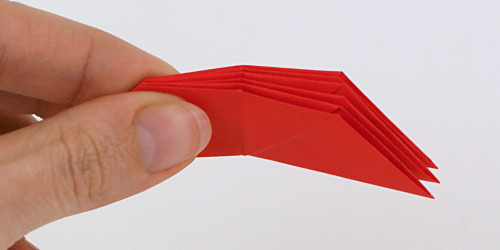
Step 10. Place the wire/thread around the middle of the leaf pieces, with the bead/button centre at the top.
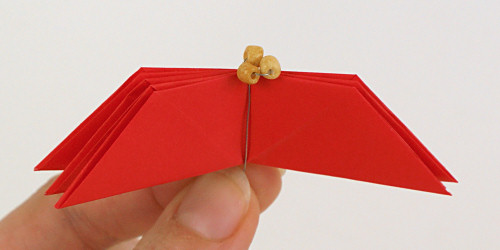
Step 11. Cross the ends below the pieces, then bring each end up over the bundle of pieces and back down to the bottom. Twist/knot the ends together at the bottom.
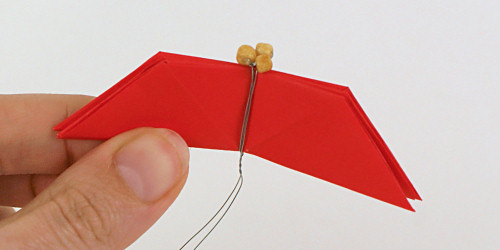
Step 12. Choose a leaf to open out and fold the other leaves down out of the way. Bring the tip of the leaf towards the centre so the leaf opens out into a diamond shape, and re-crease the leaf along the existing fold line at each side of the diamond.
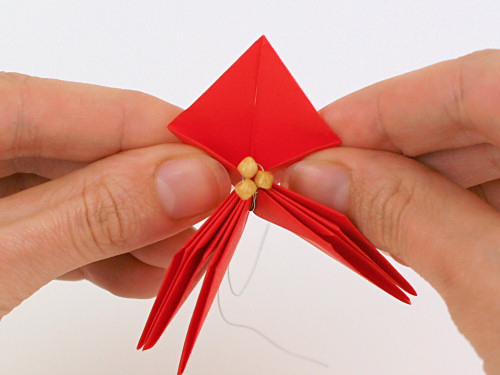
Step 13. Repeat Step 12 for the remaining 5 leaves, until they all stay open. You’ll find they leave a gap on each side, where the wire/thread falls.
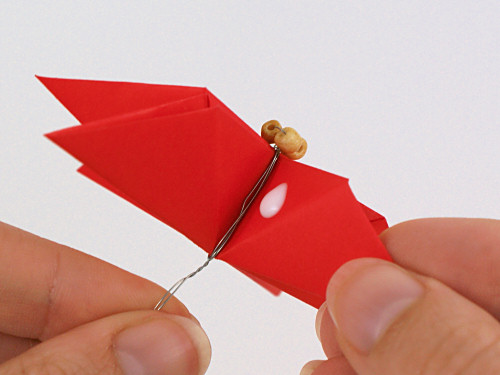
Step 14. Look at the gap from the side so you can see the wire/thread between two of the leaves. Apply a small dab of glue to one leaf, close to the wire/thread. Repeat for the gap on the other side.
Step 15. Press the pairs of leaves together and hold in place until the glue has dried.
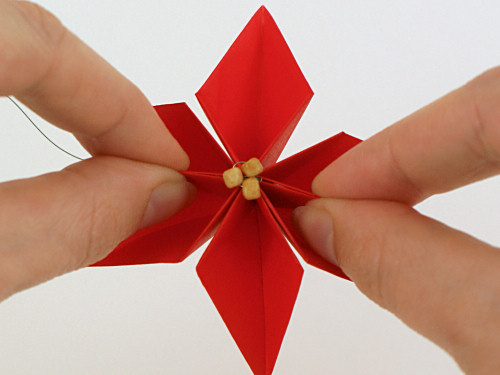
Note: You may also glue between the other pairs of leaves in the same way, but it’s not necessary.
Step 16. Trim the excess wire/thread, or leave the ends long so you can use them to attach the poinsettia to something.
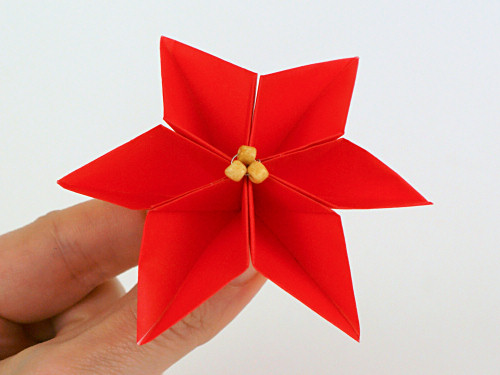
I hope you enjoyed this tutorial! Please leave me a comment if you did, and consider leaving me a donation. Thanks!


Cindy said
Thank you for the very detailed folded paper poinsettia with beads. I made mine from old hymnal book pages and I think they look vintage-awesome 😉 now I’m going to check out your other paper crafts. Sincere thanks.
Bellanires mesa said
Que belleza de manualidades, hermosos proyectos.