This post was originally published on my old papercraft site, Folding Trees.
Tea bag folding is a paper craft that originated in Holland, where many tea bags come wrapped individually in paper packets. By cutting each bag down to a square, the bags can be folded and then combined into a geometric shape, just like in 2D modular origami. But don’t let the name ‘tea bag folding’ put you off – you can perform this craft with any small squares of coloured paper. The resulting medallions can be used to decorate handmade greeting cards, embellish your wrapped gifts, or you could try adding a hanging loop (glue the units together first!) to make an unusual Christmas decoration.
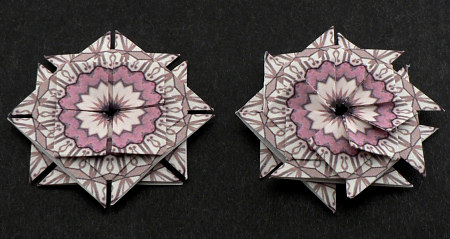
In this tutorial, to give you an idea of the techniques, I’ll demonstrate a simple fold pattern and its assembly into a medallion. I’ll also show you an interesting variant on the basic fold, and two ways to combine the variant units to make different medallions.
Introduction
To give a more authentic result, your paper squares should be patterned, and each square should have the same pattern. There are many online resources that provide printable sheets of repeating patterns to cut into squares, and fold diagrams to produce different shapes; Google ‘tea bag folding’ to find more links.
Instructions
You will need 8 squares of paper per medallion. If you’re printing your tea bag papers, cut them into squares, otherwise assemble 8 squares of origami paper. You can use squares of any size; here I’ve used 1.5″ (3.8cm) squares:
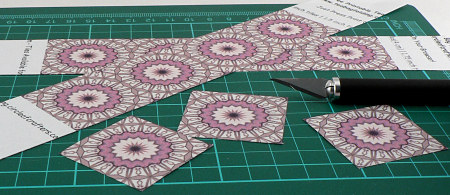
Note: As with all origami, this works best if you strongly crease each fold. You can do this with a bone folder, or just by running your thumbnail along the crease of each fold before moving on to the next step.
Basic Unit
Glossary:
- A mountain fold is made by folding the edges away from you (creating a mountain shape).
- A valley fold is made by folding the edges towards you (creating a valley shape).
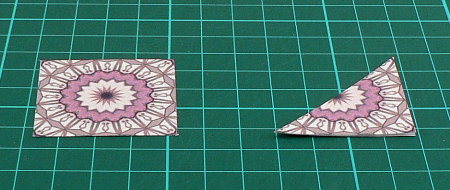
For each square, place it patterned side up (below, left). Mountain fold in half diagonally (below, right):
Open up and mountain fold along the other diagonal (below, left). Now valley fold the square in half (below, right):
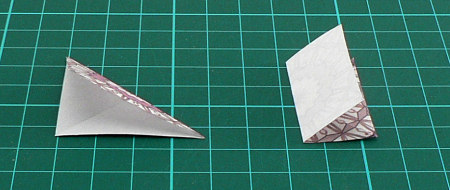
Open up again and, by pushing the edges of paper towards each other at the points marked by the arrows below, you’ll start to fold the square down into a triangle along the creases you’ve just made.
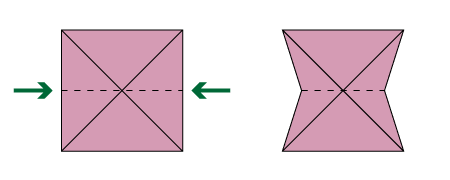
The basic fold is now complete (below, left). Take 2 of your triangles and slot them together so the points are interleaved (below, right):
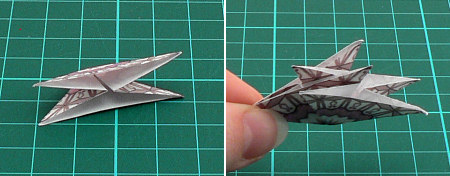
Continue to add triangles to assemble the shape. They won’t stay together unless you glue them down; you can glue them as you go, or assemble them very carefully and then glue them all together at the end.
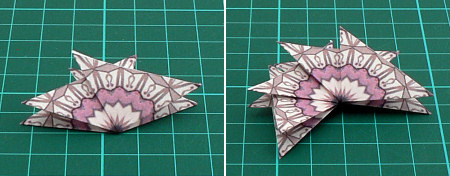
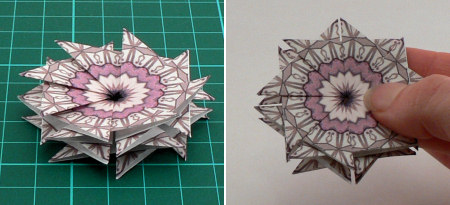
Here’s the completed basic medallion:
Variant
For a more interesting variant, when you’ve completed the basic unit, mountain fold each of the two front points of the triangle up to meet the top point. This will leave you with the triangle shape with a diamond shape on top. Interleave the units as before:
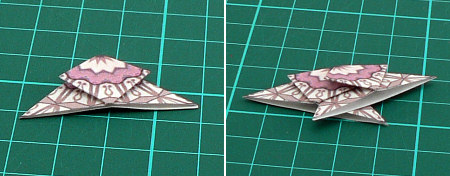
By varying the order of assembly, you can create different patterns. In the photo below, the medallion on the left is formed by interleaving one unit above, one unit below, around the circle. The medallion on the right is formed so each unit is half over and half under the neighbouring units:

It’s as simple as that!


Leelou de France said
rh
Rachel said
I am LOVING your blog! The beluga cam is WOW! I’m never going to get any work done now.