Temperature Snake CAL: month 9 roundup
Each month in 2023 I’m sharing a Temperature Snake CAL roundup with a collage of some of our snakes’ progress – even if you aren’t joining in, I think you’ll enjoy seeing all the snakes growing throughout the year!
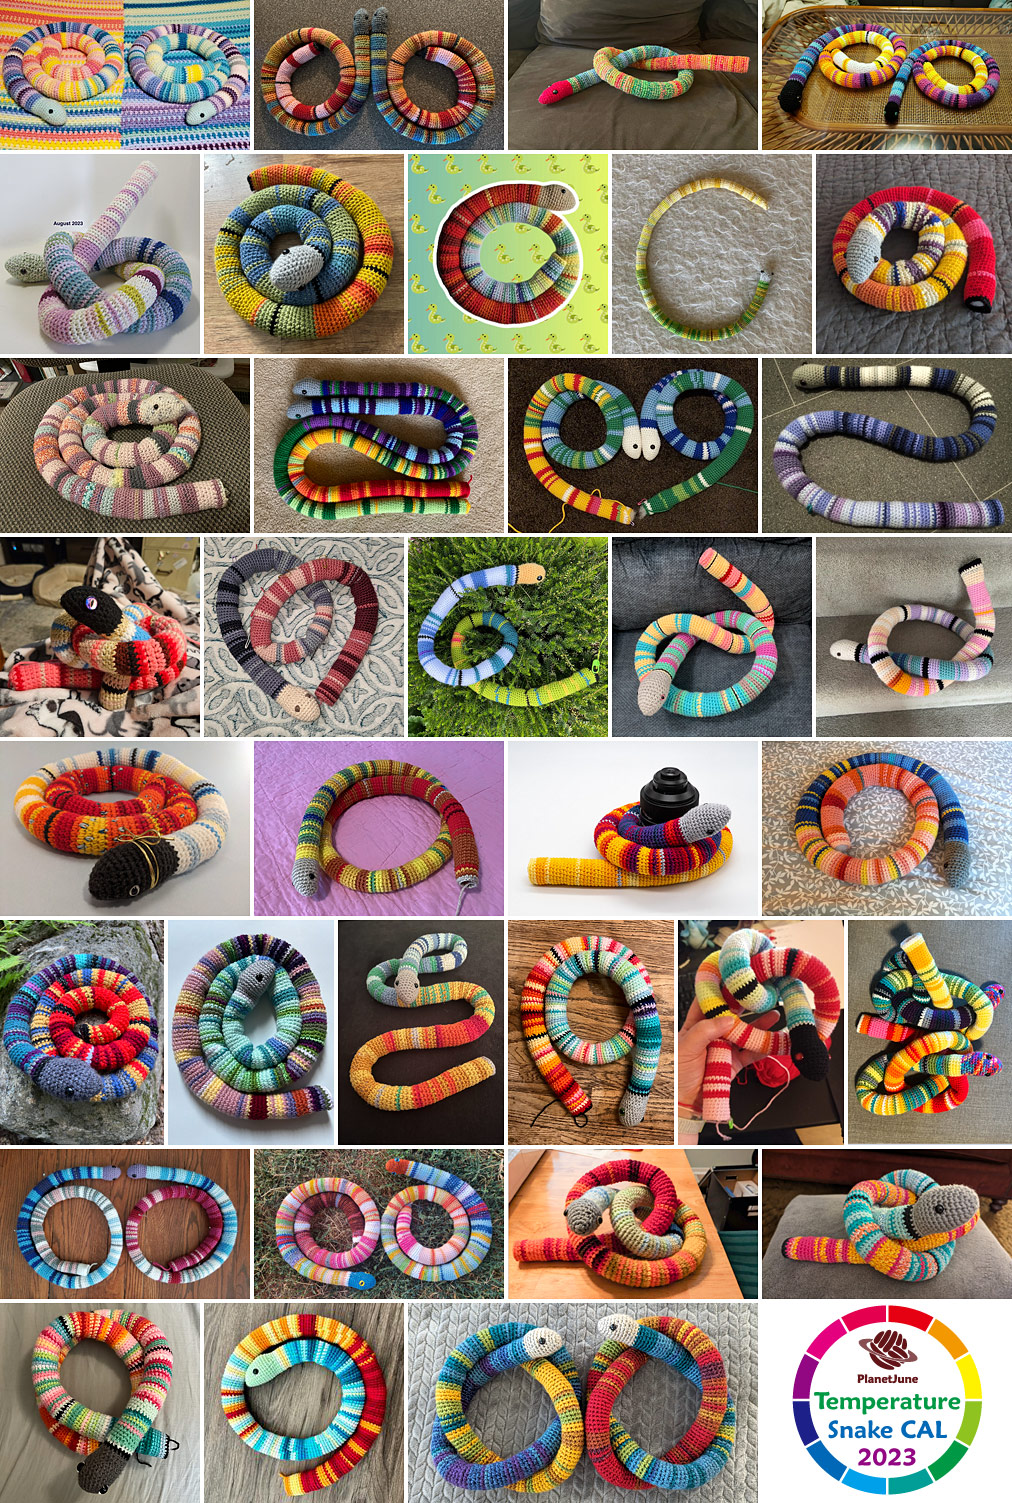
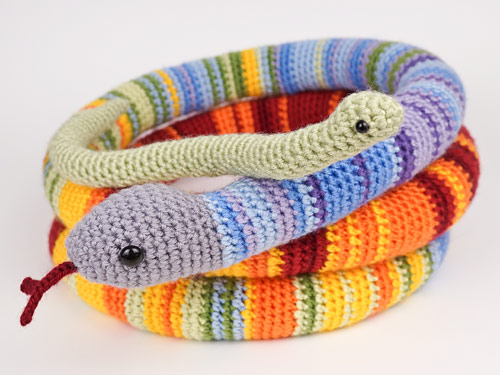
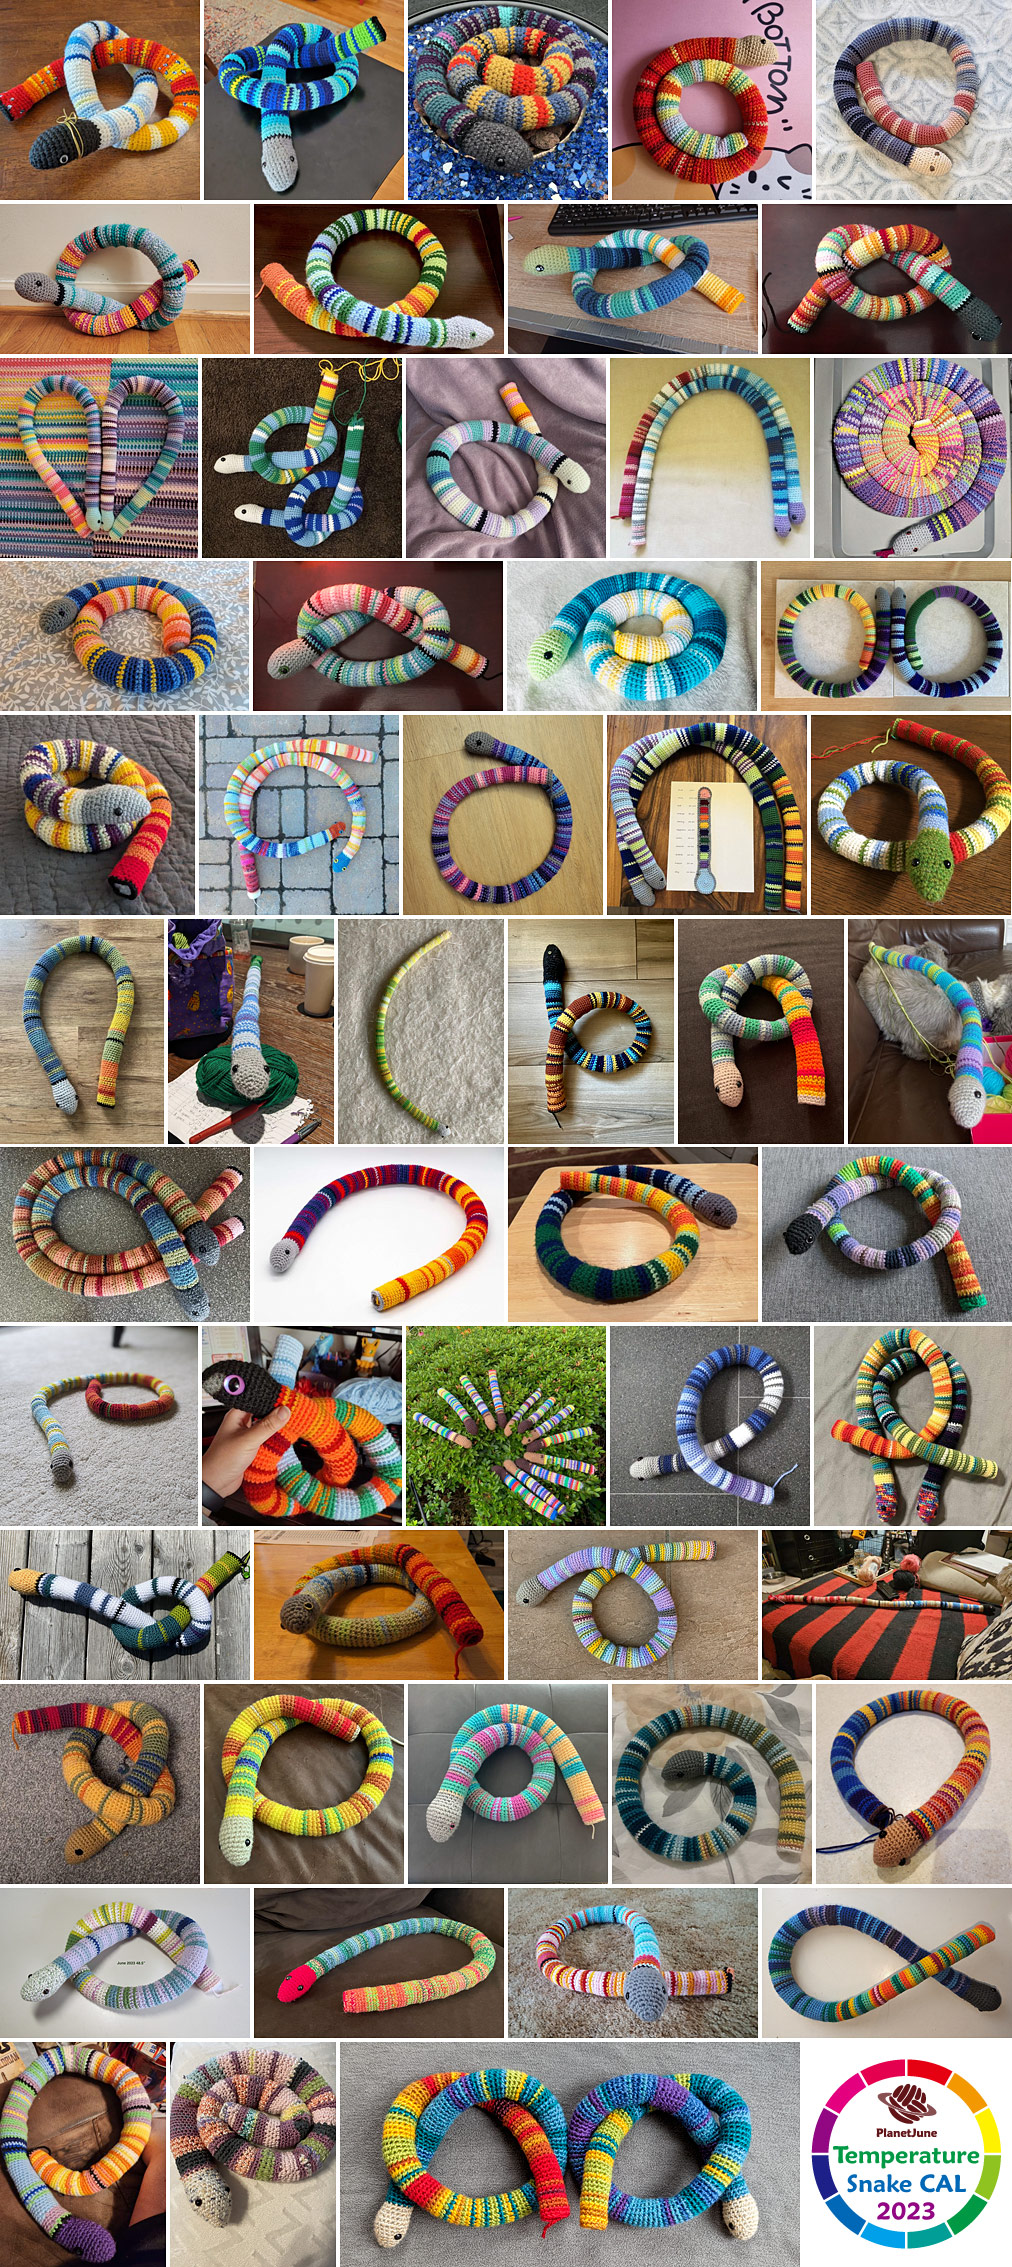
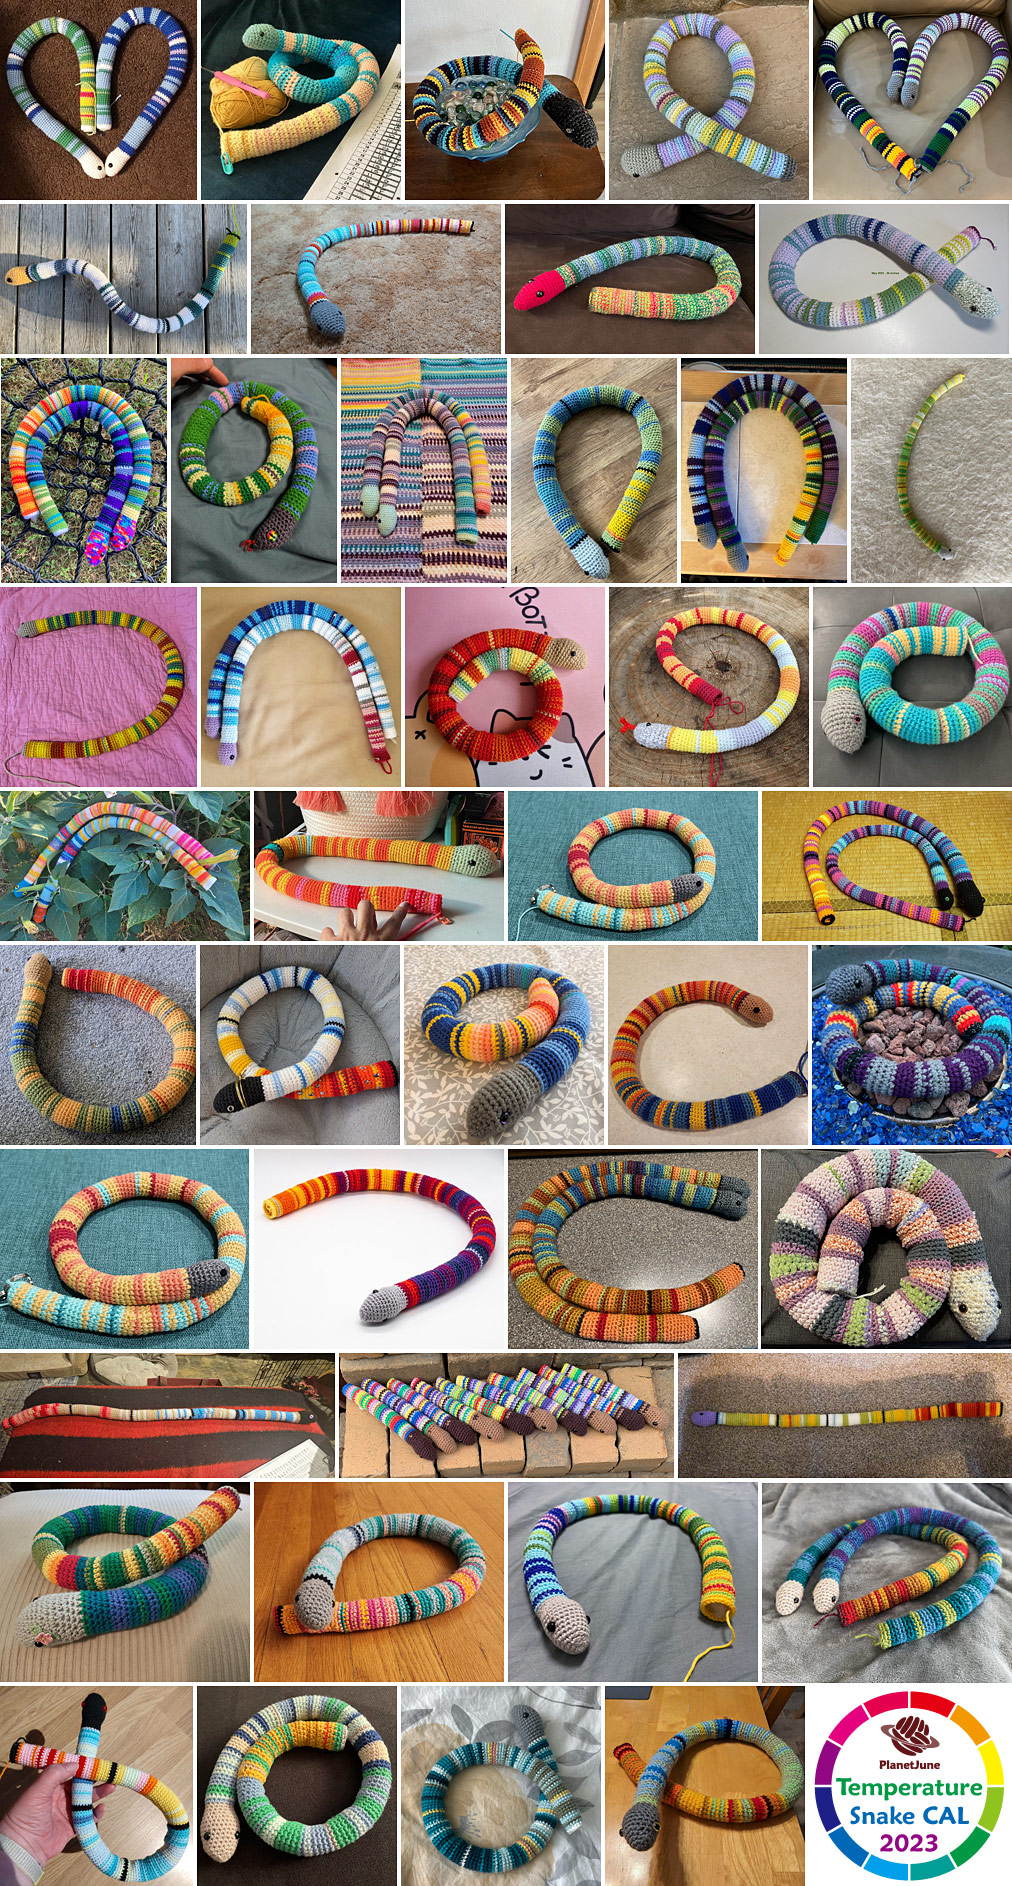
We’re three quarters through the CAL now, and, at 273 body rounds, it’s no wonder our snakes are long enough to be tied in knots! Here’s the September collage from some of the latest photos that have been posted. These are taken from the CAL threads on Discord and Ravelry, plus some from people who’ve tagged me (@PlanetJune) on FB and IG or emailed to me:
 Click to see the full-size collage
Can you spot your snake?
The snakes are becoming more spectacular with each month that passes, don’t you think? I love how stripey and bendy they are, and how creative our CALers are getting with their photos!
If you’ve got behind on your snake, you’re not alone, and we understand! Come and join us in the PlanetJune community groups, and we’ll give you some support and encouragement as you catch up – just add a few extra rounds a day, and you’ll be up to date again in no time. Now is the perfect time to get back into it so you’re all caught up before the busy holiday season begins.
And, if you’d like your snake to be included in the next monthly roundup, please post an up-to-date pic (or email it directly to me: june@planetjune.com) by 9am EST on November 3rd. Do remember to tag or DM me (@PlanetJune) if you post on social, and make your post public, or I won’t see your pic.
 Click to see the full-size collage
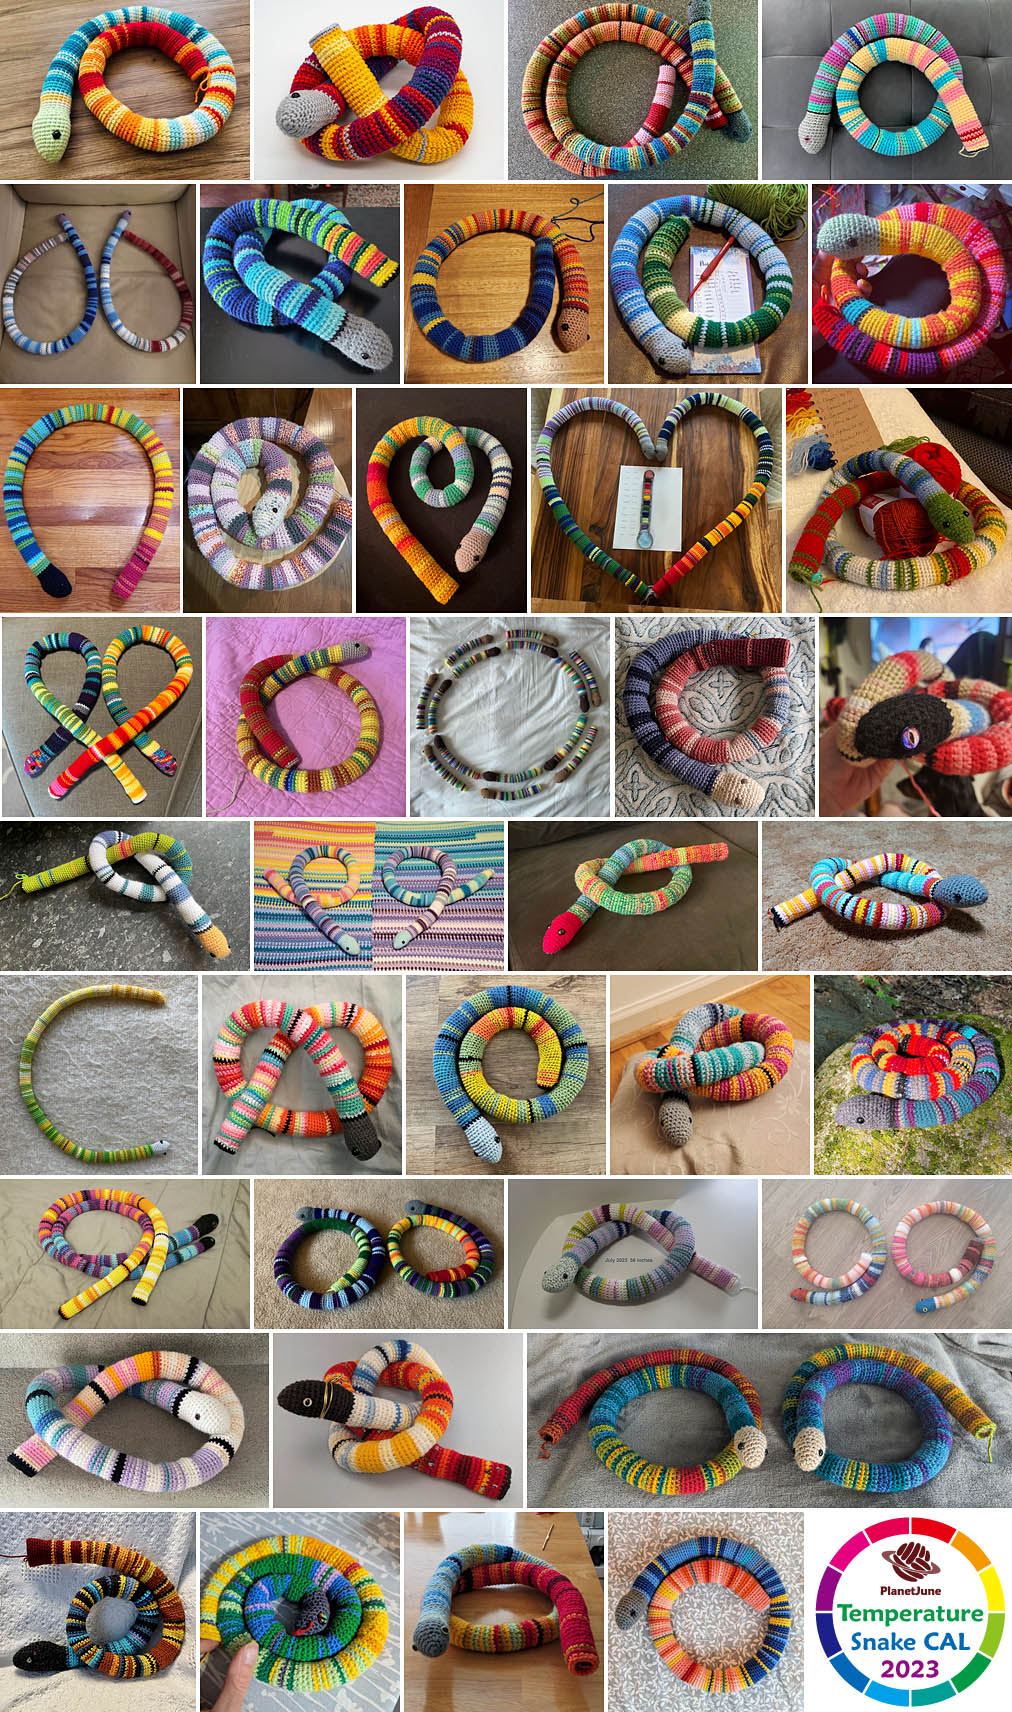 Click to see the full-size collage
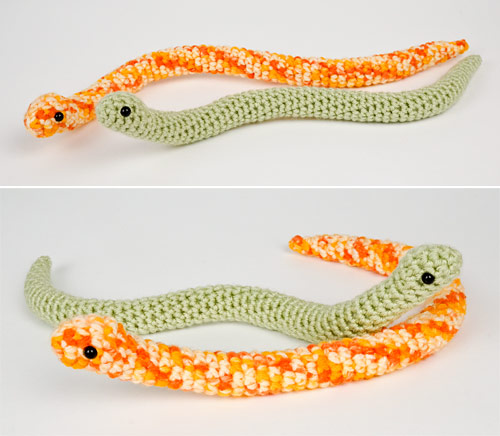
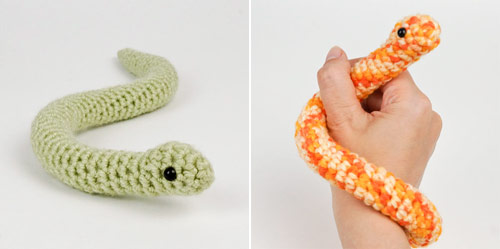
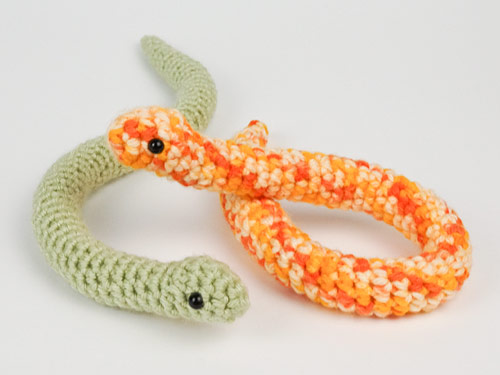
 A Baby Snake looks so tiny compared with a Large Temperature Snake!
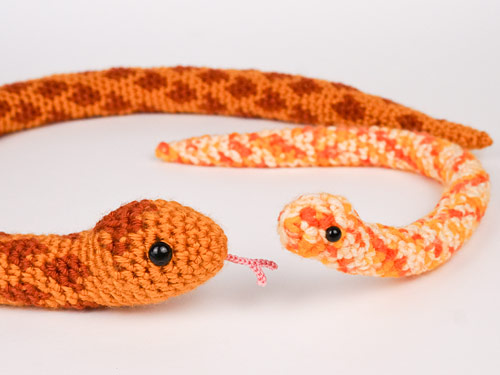 Choose the right colour of variegated yarn and you have an easy baby Corn Snake to match the big one in the Snake Collection pattern!

 Click to see the full-size collage

 Click to see the full-size collage