My 7th blogiversary couldn’t have come on a more appropriate day! Today my new visa application was submitted, which means I can begin to concentrate on PlanetJune again, and now is the perfect time to take stock and re-evaluate how things have been going and what my next steps should be.
Year 7 Review
This year has been all go, but since November my focus has been split by health problems, home problems (power outages, no internet service, water leak, being robbed) and immigration problems. These have consumed me for the past few months, but, hopefully, today is the turning point for all that 🙂
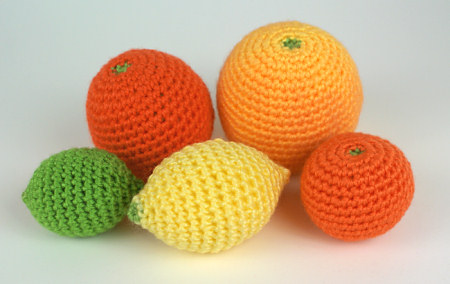
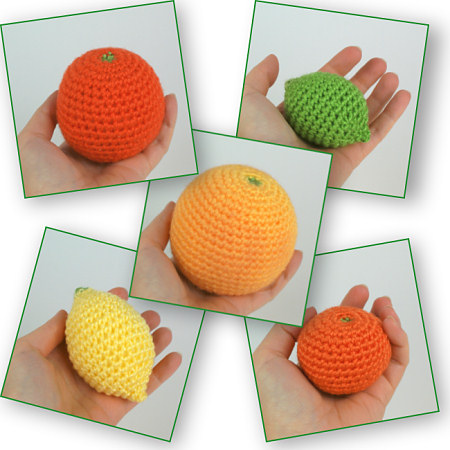
With all this clouding my mind, it’s hard to see what I’ve actually achieved with PlanetJune, so I’ve glanced back through my archives to remind myself. Surprisingly, despite everything, I managed to design and publish 24 new crochet patterns in Year 7 (exactly the same number as in Year 6):

That makes me feel pretty good! And I have over a dozen more designs in progress, so the coming few months should see many more pattern releases 😀
I’ve also begun a project to reformat and re-publish all my older patterns, to add additional information and clarifications, and to save space and improve the layout. This requires concentration and meticulous checking to ensure I don’t introduce new errors into the new versions, so I’ve only been able to re-release 41 out of 124 patterns so far. It’s a huge project – I’m only 1/3 through it! – but I’m slowly working my way through the rest. It’s well worth doing though, so all my patterns will be standardised.
Goal Review
My Year 7 goal was to work on strategies to beat the overwhelming feeling of an ever-growing business with only one employee (me!) to do all the work:
I’m working on implementing [strategies] to make the ever-growing PlanetJune more sustainable with less work on my part: automating, prioritising, and re-energising.
Automating my business is still moving forward, albeit very slowly. Luckily my business growth has slowed to a more manageable level while I’ve been distracted, so I’m not completely overwhelmed, and the changes I’ve already made are keeping things in check.
Prioritising (and re-prioritising to account for unexpected incidents) has been critical in getting through the past months. My decisions are always based on keeping my standards high, which means I’ve been shifting due dates forward and planning for projects that I know I won’t even be able to begin until 2014! But there are no shortcuts to producing quality work: better to do it beautifully later than to produce something junky now.
Re-energising has obviously been a big fail over the past 6 months, but one I hope to make up for now – I’ll have more time to knit sweaters for relaxation and we’re planning some new wildlife-related adventures – yay!
What’s Next?
Now I should have more time again, so, once I’ve rested and got my health back, I want to get back up to speed and pick up all the PlanetJune projects I’ve had to abandon recently. Last year, I said:
Yes, I am slightly overworked right now because I’m in the midst of building all my new systems, but that won’t last forever and then I’ll have the payoff: being able to concentrate on the work I really enjoy: creating, innovating, and explaining crochet techniques. I can’t wait!
…and I still feel exactly the same way! I’ll get my new systems finished and the pattern updates completed, but I don’t want to set a time limit. I’ll work for as long as it takes to get everything finished without burning myself out in the process – I’ve had enough of being worn out!
After all the non-work-related stresses of the past few months, though, my work is going to feel like a holiday – I love PlanetJune and I’m very excited to get back to it 😀
To You…
I’ve made some wonderful friends through these past 7 years of craft blogging – some have been my compatriots from the very beginning, and others I’ve only connected with recently; some have become my treasured customers, and others support me with comments and emails. Our global online craft community is a very special environment and I’m grateful to be part of such a kind, generous group of people.
Thank you for accompanying me on my continuing PlanetJune adventure!