September update
Book Report
I’m working hard on my new book, and, although I can’t really show you anything at this stage, I can say that it’s going very well so far:

- My trusty spiral-bound notebook (and my new virtual equivalent, Evernote) are full of my crochet knowledge and tips, ready to be shared with you next year!
- I’ve added to my photography and lighting setup and I’ve created the ultimate crochet tutorial photo studio, so you can expect excellent quality photos in this book (and it’ll make editing photos much easier for me in future too).
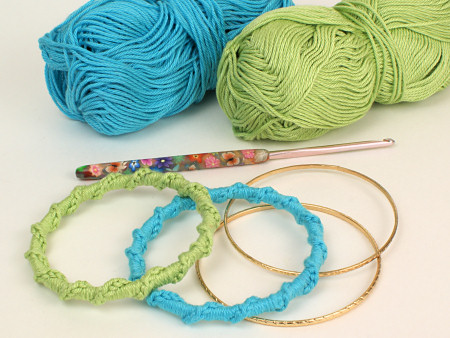
- I have a box of beautiful yarn (sneak peek of some of it to the right) waiting for me to crochet it into lovely things. I’ve already crocheted 14 skeins from it into secret projects…
It’s very exciting to see things starting to take shape after all the preparation and planning I’ve done over the past couple of months, but there’s still a long way to go. I’ll be spending all my time for the rest of the year writing, designing, crocheting, photographing – okay, that’s not much different from my usual work, but as I’m not working for myself, I don’t have the luxury of setting my own schedule.
Unlike my self-published work, book deadlines aren’t arbitrary and can’t be pushed back; I’m one cog in a machine that includes editors, designers, indexers, printers and more, and they’ll need time to work their magic after I’ve finished my part in the process. So, for me, everything else will be taking a back seat from now until I complete my author review in December and hand this baby off so the publishing magic can begin…
Review and Win contest
For the first time in the 3.5 years I’ve been running my monthly free pattern contest, there were no reviews left in my shop last month, so that means there’s no winner in the August ‘Review and Win’ contest. That’s good news for you though, because I’ll roll the prize over to this month, so I’ll be drawing 2 winners (of a free pattern of your choice) from the reviews left in the PlanetJune shop in September!
To be entered, just go to the page of the item you wish to review in my shop, click the Reviews tab and click write a review. If you’ve enjoyed any PlanetJune patterns and haven’t yet reviewed them in my shop, this would be a good time to do so… 😉
And now it’s time to play catch-up; I didn’t have time for a monthly update post last month, so I’m drawing the July ‘Review and Win’ winner today. And the winner is… Sarah M, with her review of my AmiDogs Chihuahua pattern:

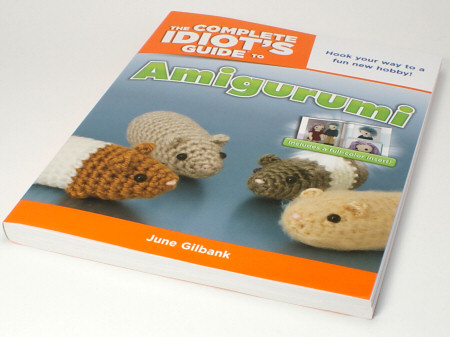
What a great pattern! This was my first time doing color changes in an amigurumi pattern. Following June’s pattern directions and her online tutorials regarding color changes, it was so easy! Plus, it looks great. The directions on the pattern were very clear and easy to follow. I have made a handful of amigurumi animals before, but I would not consider myself an expert. I felt very confident following this pattern. The finished product looks just like the pictures! I particularly appreciate the detail regarding how to place the legs, tail, head, muzzle, and eyes. With that many pieces, it was nice to not have to debate how and where to attach everything. I also used June’s invisible join method for a superior looking finished dog. Can’t say enough about it!
Thanks, Sarah, and congrats! I’ll email you to find out which pattern you’d like as your prize 🙂
Donationware CAL
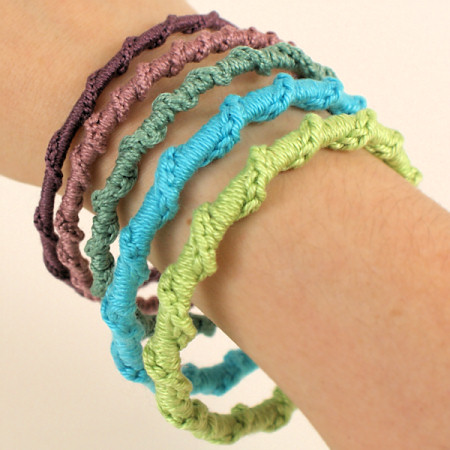
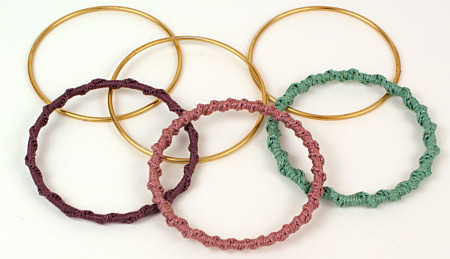
The CAL is already in full swing! I think the fact that these patterns are all fast and easy means we’re going to see lots of entries this month, and I’m looking forward to seeing them all. Please join us by making any of these patterns (including my brand new Twisted Chain Bangle):

…and posting your photos in the Donationware CAL Ravelry thread 🙂