May update
We could all use a little less pressure in our lives, so I’m changing the PlanetJune crochet-along model to give you a bit more choice and flexibility. We’ll still launch a new CAL roughly every month, but I’m extending the runtime of each so there’s plenty of time to make whatever you want, even if a month turnaround time is too fast for you. So, in future, you’ll see 2-3 CALs running simultaneously, and you can join in with as few, or as many, as you want to.
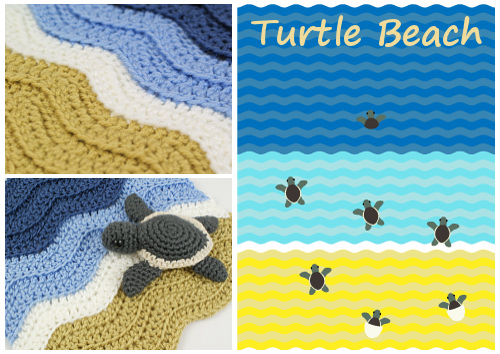
I’ll keep this model going for the rest of the year as a trial run, but so far it seems to be working well, with Turtle Beach still going strong, while the new Hoofing It CAL is just starting…
Hoofing It CAL
I’m really enjoying seeing the first projects posted for my new Horse, Unicorn and Pegasus patterns, for example:

Photo credit: these lovely projects were crocheted by Ravellers CrochetChrisie, Stormwhisper and craftywhizzbang
Don’t the Unicorn and Pegasus look good in all the different mane and tail colours? Oh, and when I launched these patterns last week, there was so much to say that I actually forgot to mention that my Unicorn & Pegasus pattern includes bonus instructions for the rainbow mane and tail option (pictured middle bottom) – so if you want to make a Rainbow Unicorn, I’ve got you covered 🙂
If you’d like to share your project(s) too, please join the crochet-along in the PlanetJune Ravelry group – I love to see what you’re making from my patterns!
Commissions Update
I’ll be relaunching my crochet pattern commissions system later this year, to make it easier, faster, and more fun. With the completion of my new Horse pattern, I’ve finally cleared the queue of commissioned designs, so I’m temporarily closing PlanetJune Commissions to new pledges while I complete the upgrades.
(If you sign up for my new Commissions newsletter, I’ll let you know when the new system is ready to go, and give you a tour of the new features and a sneak peek at the new design options on the list!)
With the relaunch, I’ll be adding new options to the commissions list, and I’d love to know if you have any requests for new animal or plant designs. Are any of your favourites missing from my pattern range, or is there something special you’d love to see me tackle? Let me know in the comments below!
Review and Win contest
You’re automatically entered in the next monthly draw every time you write a review for a PlanetJune pattern you’ve enjoyed – and you’ll also be helping future customers make an informed decision about patterns they are considering buying.

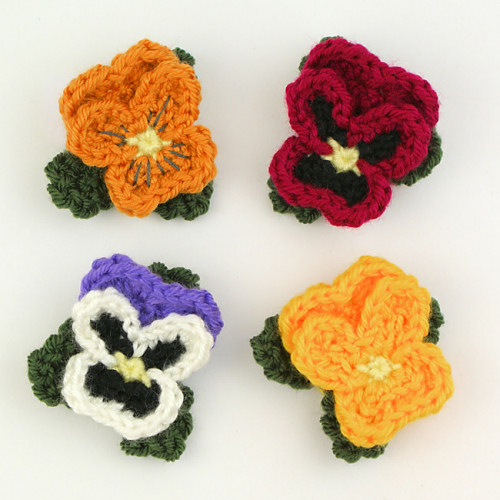
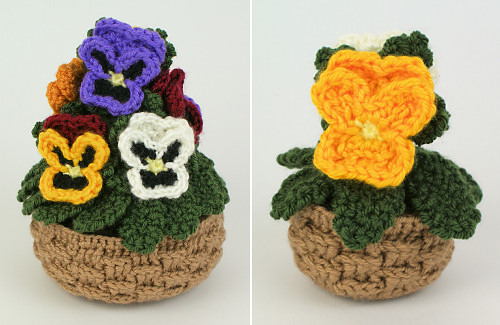
April’s winner is Annette H‘s review of my Primroses pattern:
Everything is very clear described with pictures where necessary. Even the assembling – where most other patterns just say nothing about – is described and very easy to follow. 100% recommendation.
Congratulations, Annette – I’ve emailed you to find out which pattern you’d like as your prize!
What’s Next?
I’ve been planning a very cute and colourful amigurumi collection for a couple years, and I’m finally making it happen. It’s coming together nicely, but I’m putting it on hold for a couple of weeks while I visit my parents in the UK. (So, if you email me, please understand that it may take me a little longer to respond than usual! See my FAQ for the best and fastest ways to get PlanetJune help.)
I’m so driven to make my ideas into reality that I end up working really hard all the time. When it’s just you making it all happen, it’s hard to ever stop thinking about the business and new designs and planning for the future, and that’s a situation I need to improve. Although I truly love what I do, I’m looking forward to getting a little distance from PlanetJune for a short while, and some rest, fresh air, and walks on the beach with my family.
See you when I get back!