first machine-knitted sweater!
This is my first FO of the year, and I’m completely thrilled by it!

It’s a combination of machine and hand knitting, and to explain how that came about, let’s start with some backstory…
Despite having filled my wardrobe with handknits, I haven’t finished knitting a sweater for over a year now. With hindsight, I think the reason is that knitting kept me going through the worst of my PTSD. When I couldn’t do anything else, I could still move my needles, loop my yarn, and make one neat stitch after another to pass the time in a constructive way. Knitting became my therapy, and it did that job so well that it ruined knitting for me as a fun hobby.
I’d started on a simple project that should have been easy and fun – remaking my simplest sweater design in a different colour (the lovely periwinkle you see above). I got most of the way through the sleeves, and then… I stalled.
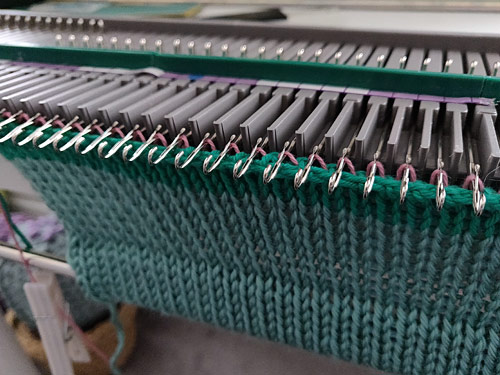
I put the project away and hadn’t been tempted to knit another sweater for ages, until I bought my knitting machine. I used the rag hems I told you about in my previous post as guides to try to match my gauge to the sleeves I’d already knitted by hand, and then got started trying to machine knit the missing parts (the front and back) of the sweater.
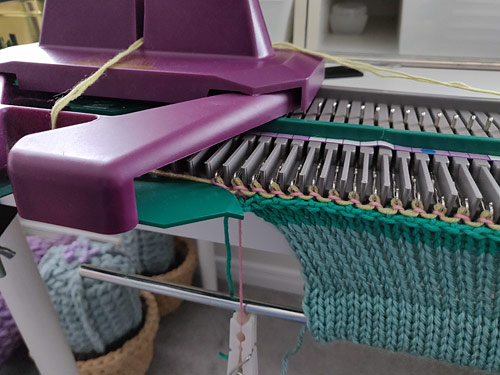
The back went so well that I got a little too enthusiastic (or too confident!) when I knitted the front – I got over-tired and didn’t notice I’d skipped the whole section from waist to underarms!
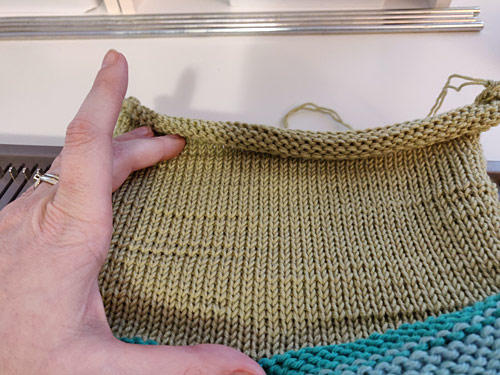
It’s hard to see what’s going on while you’re knitting, as the work is weighted down and completely stretched out of shape, so I didn’t notice my mistake until I’d finished and laid the sweater front out flat…

Bet you’ve never seen a sweater with this shape before! (Ignore the green rows at the bottom – those are my rag hem and won’t be part of the final sweater.)
Haha! Disaster! I fed a lifeline (the yellow yarn across the photo above) through the row below the point where I went wrong – there should be an extra 32 rows of knitting at that point!
But I wasn’t too discouraged by my mistake – it was good practice for following my at-the-same-time armhole decreases and neck decreases, and I was encouraged by how neat the stitches looked.
I frogged all the way back to the lifeline, hooked it all back onto the machine, and tried again (without making any stupid mistakes this time).
Once I’d finished, it was just a matter of seaming the front, back and sleeves together, then picking up stitches to knit the bottom band and neckband by hand. And it seems I’ve got my knitting mojo back! I really enjoyed hand-knitting the ribbing so I could see how the sweater would turn out.
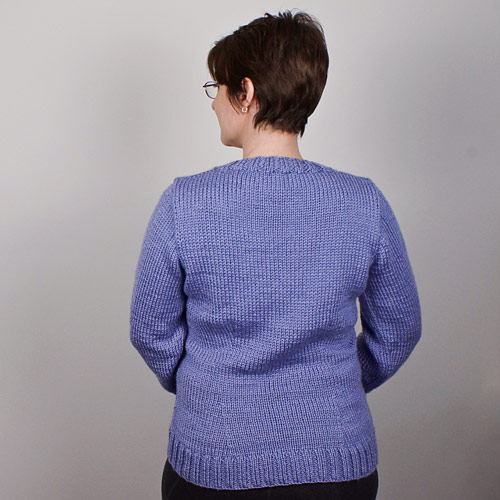
There are some minor flaws in my knitting, where the yarn must have caught on something and so the tension of the whole row is too tight, but I’m delighted with this as my first attempt. The gauge is exactly what I was aiming for, and it’s a perfectly cosy sweater for this time of year!
I’m so impressed with how well the stitches match between my hand knit sleeves and the machine knit body – if you didn’t know, would you be even able to tell there was a difference?!

Concept proven, and now I’m back in the knitting game with lots of ideas for what to knit next with my combination of machine- and hand-knitting – I think it’s the best of both worlds. So exciting!