2020: year in review
Every year, I write a wrap-up to see how far I’ve come over the past year and set a direction for the year ahead.
I don’t think anyone in the world can say that 2020 turned out the way they’d planned, and I’m no exception!
I’ve been very fortunate to not have been directly impacted by COVID-19, other than isolating, social distancing, mask wearing, etc since March. But despite that, I haven’t had the best year, healthwise: I’m still struggling with fatigue problems, and the bad fall I suffered in July left me with a couple of months of post-concussion symptoms (and brain injuries aren’t exactly conducive to productive work…)
2020 Achievements
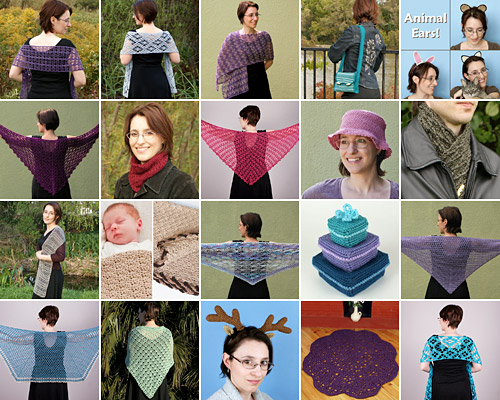
Thanks to the pandemic and my head injury, this year has been a bust for me, in terms of quantity of new work. I’ve only published 6 new patterns, and I’ve made little or no headway on my bigger plans and ambitions. But it’s not all bad news!
I think that any progress in 2020 counts as a win, and I’ve definitely made progress. 2020 marks a huge milestone for me: I now have over 300 self-published PDF patterns, ebooks and craft tutorials – isn’t that amazing?!
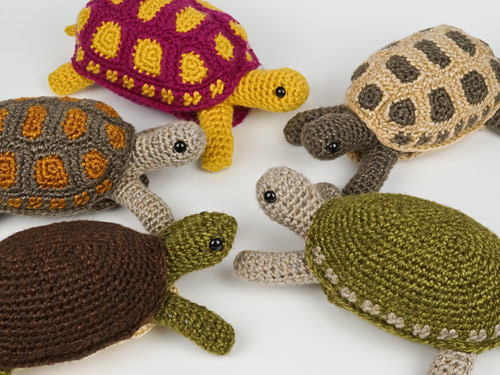
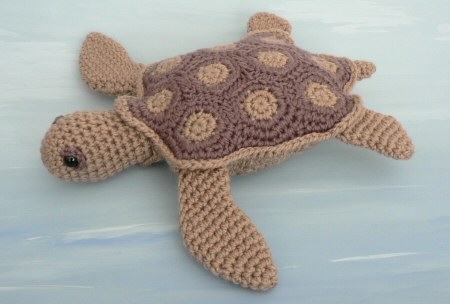
And I succeeded in completing my most complex design to date. Designing that tortoise shell was an achievement in itself, but figuring out how to explain it clearly in pattern form was a huge undertaking, and, with hindsight, 2020 wasn’t the best year to push myself into such innovation…

I could have been much more productive in terms of quantity if I’d stuck to tried-and-true ‘safe’ ideas. But where’s the fun in that?! I’ve been designing amigurumi for 14 years now, and I have to follow my curiosity and keep trying new things, otherwise I’d be completely bored by now. (And, btw, I’m not bored at all – I still have so many ideas that I haven’t explored yet!)
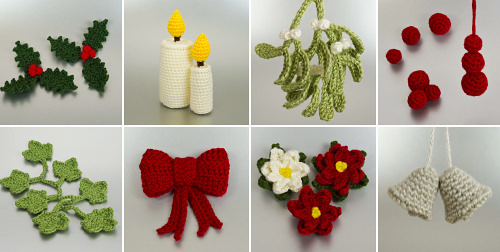
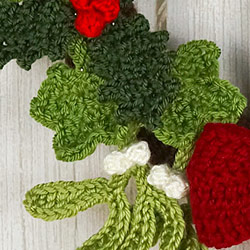
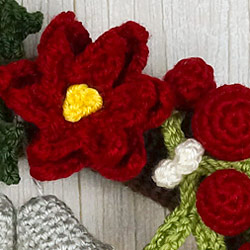
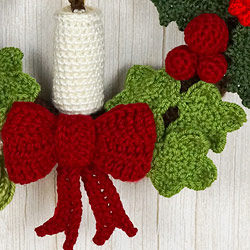
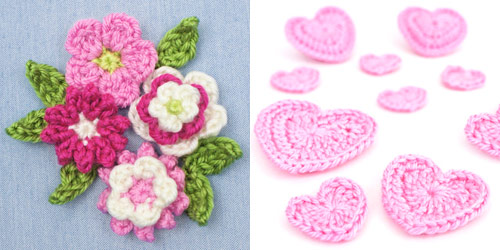
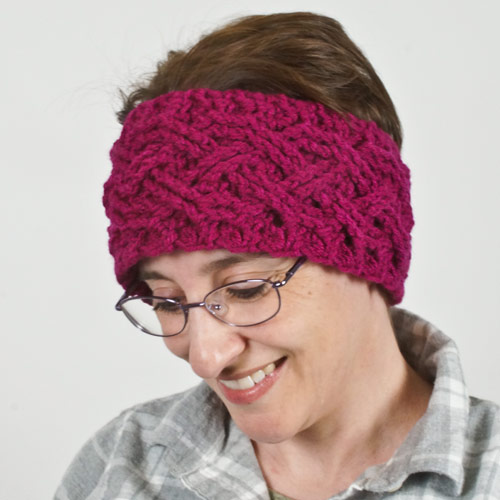
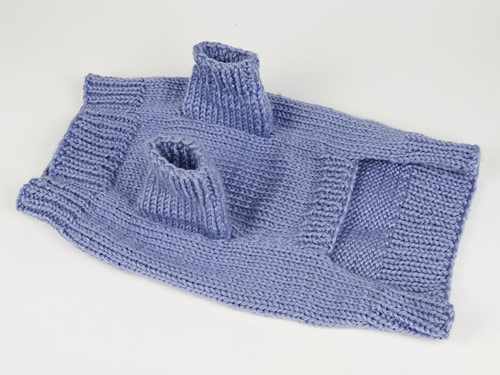
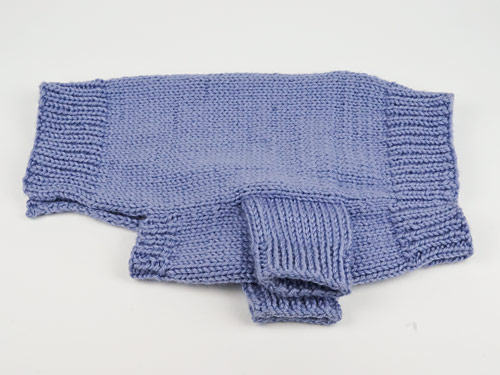
I also followed up on my plan to post more crafts (not just crochet) on my blog this year with a few tutorials:

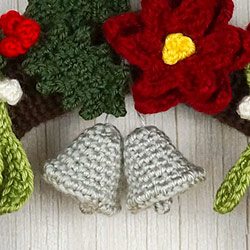
And some other craft projects:

(Plus there’ll be a few more projects – knitting, crochet, weaving – that I haven’t finished writing up yet.)
Spending time writing all these craft posts was a bit of a gamble in this age of digital distraction, but I was so happy with the response the non-pattern posts received! I love posting about what I’m making and hopefully inspiring people to try more crafty ideas along the way, and it’s really rewarding to know I still have interested blog readers who find value in my longer-form content in this fast-scrolling social media-filled world. (By the way, huge thanks to everyone who took the time to leave a comment this year and let me know you’re enjoying my posts – I really appreciate it!)
Business Report
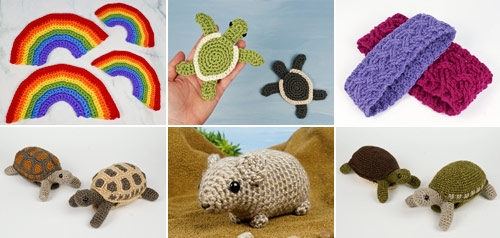
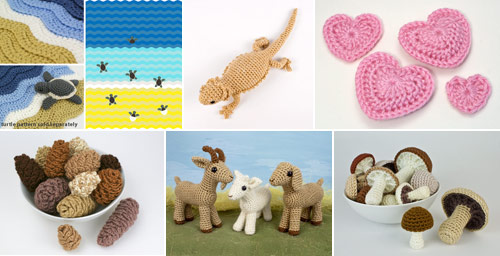
My bestselling patterns this year were the Turtle Blanket and Baby Sea Turtles, Bearded Dragon, and Love Hearts (thanks to their repurposing by healthcare professionals and caring crocheters as COVID-19 comfort hearts). Pine Cones, Farmyard Goats and Mushrooms pushed the usual cats, dinosaurs, succulents etc further down in the PlanetJune charts – a bit of a surprise there, but I’m very happy to see different patterns gaining in popularity and joining the bestseller ranks.
And, once my brain was back to firing on all cylinders, I managed to complete a massive behind-the-scenes project last month that had been on hold since March: a much-needed upgrade of my shop. Although the difference won’t be visible to you, I started over and rebuilt the entire shop from scratch with the latest code updates to keep it safe and secure. It was a lot of work, but if the shop code is clean and simple, it’ll be easier to keep things updated and make improvements in the future.
Personal Report
I decided at the start of 2020 to officially ‘retire’ from being an amateur wildlife photographer. That seems like a shame on the face of it, but the pressure of having to take my camera everywhere and try to get ‘good’ photos had started to spoil the relaxation of appreciating the environment and enjoying the wildlife I see. Now I can just enjoy time outside in nature with Dave and Maggie without being stuck behind a lens or worried that my photos won’t be good enough – just appreciating it in the moment is enough.
My biggest personal breakthrough in 2020 was to finally seek therapy for my PTSD and anxiety disorder. After many months of counselling and learning CBT techniques, I not only feel much calmer, but also better equipped to deal with new stressful situations whenever they come up.
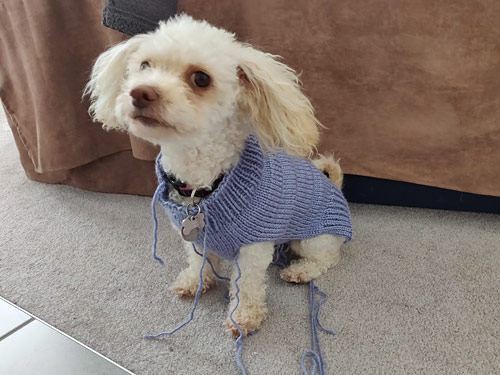
And my biggest joy of 2020 (and one with the most serendipitous timing, just before the lockdowns etc began) was adopting my rescue dog Maggie at the end of January. As a first time dog mama, I’d been so nervous to take this step, but it only took one look at her to know that she and I were meant to be together.

I’ve already written about how much she’s helping me, and I’ve devoted a lot of time this year to helping her blossom: from a timid, neglected, skin-and-bone scrap who didn’t know any commands and cried whenever I left her side, to a happy, healthy pup who recognizes dozens of words and knows she’s part of a loving forever family. That’s my most important and rewarding accomplishment of the year.
Looking Forward
I have so many things I want to make: videos! ebooks! new designs! new techniques! new products! but even in writing this list I realise that sounds exhausting.
I know I’m not capable of doing things by halves, so there’s no such thing as a “quick” video or blog post for me – it just doesn’t fit with my detail-oriented personality, for better or worse. And I know my energy reserves are limited; pushing myself today just means I’ll be too tired to do anything tomorrow, so I have to try to respect my limits.
So I’m looking to be strategic with where I spend my energy. I’m trying to make it easier for people to find PlanetJune and discover my huge back catalogue of treasures. If that could completely support me financially on an ongoing basis, like a successful author living on the royalties from their past books, it’d give me the time to follow my inspiration without any pressure.
Last year, my wishes were for acceptance of the things I can’t control (like my fatigue problem, and the bigger problems in the world), appreciation for all the good stuff in my life (I’m so fortunate in many ways), and inspiration (a new decade is a perfect time to try new things, and I have a feeling I have some great ideas coming!)
And, although I couldn’t have guessed the global challenges the year would present, those goals turned out to be an excellent 2020 coping strategy, and, in re-reading them, I realize that they still ring completely true for me today.
So, my wishes for 2021 are for:
- acceptance of the things I can’t control
- appreciation of all the good things in my life, no matter how small
- inspiration to keep moving forwards and trying new things
For me, these are calm, centred guiding principles to live by. They stood me in good stead last year, and I want to keep going on this path and keep making slow, steady progress this year.
If my wishes sound good to you too, I hope you’ll also be able to find a way to apply them to your life this year. I wish you a very Happy New Year, and a safe and happy 2021!