afghan progress
My 63 squares afghan is progressing… I’ve added the navy border to 19 squares, and have another 16 squares waiting for their navy border to be added:

Status: 35/63 squares (56%) completed
My 63 squares afghan is progressing… I’ve added the navy border to 19 squares, and have another 16 squares waiting for their navy border to be added:

Status: 35/63 squares (56%) completed
I’ve fixed the edgings on all my old squares now, so I’m back to crocheting new squares for my afghan. Tonight I’ve made square #37 (if the colour looks funny, blame the lamp in my living room; it’s a nice purple really):

Status: 29/63 squares (46%) completed
I am, in theory, crocheting the 63 squares afghan, although the 26 squares I have completed have been sitting in a box for almost 2 years without being touched. Last week I found the Crochetville 63 Squares Crochet-Along, and now I’ve been inspired to get started again.
I crocheted one new square, and started a second, and then compared them with my previous squares. Disaster! Somehow my new squares were over an inch larger than the old ones… I think I must crochet more loosely now than I did when I started the afghan. I had to unravel all my new work (sob!) and start again with a smaller hook.

I finished the above two squares at the weekend, and thought I was back on track, as the sizes matched my old squares. But apparently I was unable to count when I started this project… the edging is supposed to be 112 stitches around for each square, so all the squares can join nicely together. I really don’t know what I was thinking, but some squares were a few stitches short and some a few over; not one was exactly 112 stitches! Being the perfectionist that I am, I really can’t leave them like this (plus I want the boring task of joining all the squares together to be as painless as possible) so I am unpicking the edges of the 26 squares I had already completed and re-edging them. Almost there – 7 more to go.
In my defense, I had only just started crocheting at the time, and didn’t really understand what I was doing. I also crocheted ‘wrongly’ by only crocheting into one top loop of the previous stitch instead of both, but I am going to leave those ‘wrong’ squares alone – they still look nice, and it’ll be a reminder to me of how much time passed as I crocheted this.
Status: 28/63 squares (44%) completed
This is my entry to the September Whiplash contest. The challenge was to make any kind of hat. I got the inspiration for my hat from my cat, Maui:
I crocheted the cat hat in single crochet from black chenille with cream chenille accents. After reading the tapestry crochet post on whipup a few weeks ago, I’ve been wanting to try it, so I added a zig-zag border around the bottom, to match the ‘M’ markings on Maui’s forehead. I finished the bottom with reverse single crochet.:

I single crocheted cream fronts and black backs for the ears, then joined the fronts to the backs with a reverse single crochet border:

The hat still looked a bit plain, so I added three flowers embroidered with lazy daisy stitch, with bead centres:
Maui seems to approve of the finished hat:
I’m entering the cat hat into the design category of Whiplash this month.
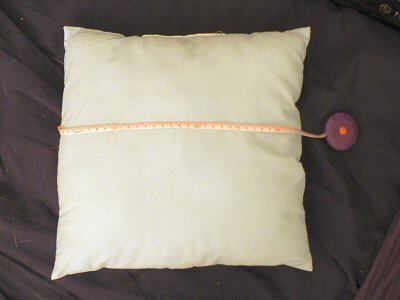
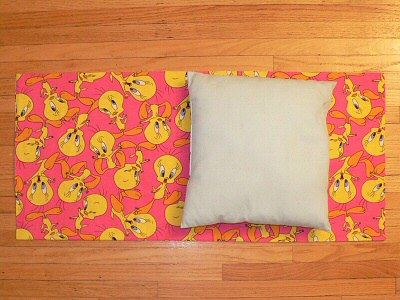
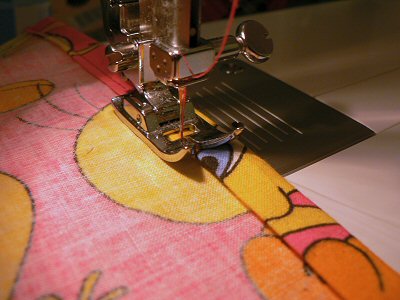
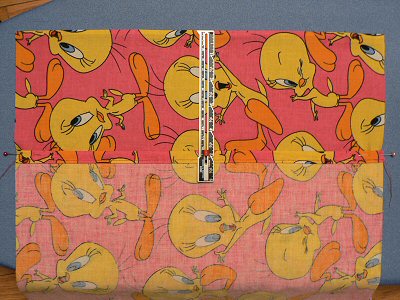
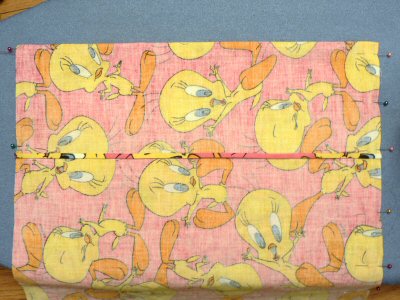
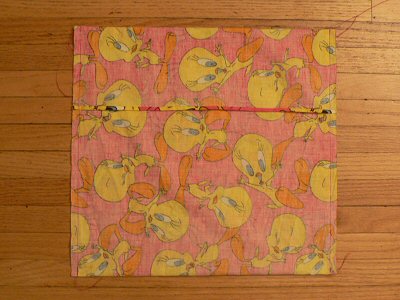
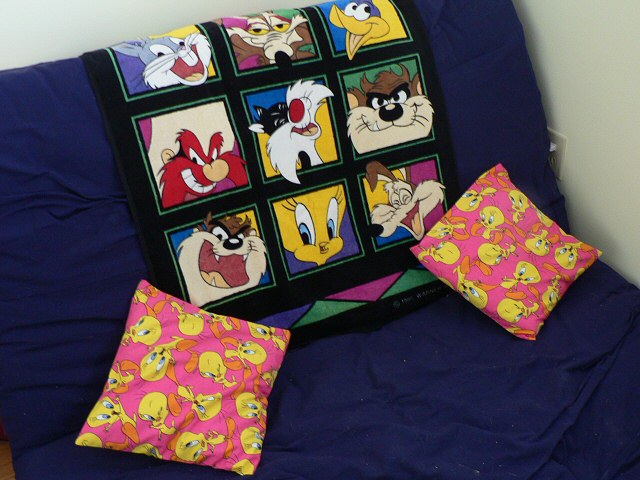
This is a tutorial for a really simple cushion cover. It’s really quick and easy to make (and cheap!) as it doesn’t require a zip – the cushion is inserted like a pillow into a pillowcase.


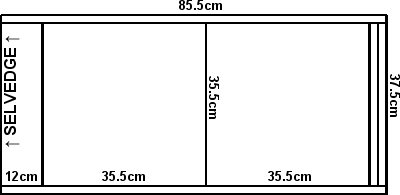
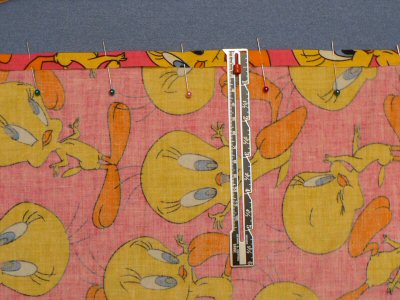
Okay, so my rectangle to cut is 85.5cm x 37.5cm. That’s the hard part over – promise! It’s all easy from here.


I hope this tutorial is useful – please let me know if you have any questions or comments.
This week I’ve been ‘crafting’ my website. I’ve added a pop-out menu throughout the whole planetjune site, and made the new Craftybits Gallery. It’s database-driven so all my projects are viewable by category. Yay me!
I’ve just finished making the sleeve for my new laptop. I wanted a small slim sleeve to protect the laptop while it’s in another bag, so I intentionally didn’t include a handle or strap.
I made the sleeve out of heavy cotton fabric (actually leftover fabric from curtains that I shortened for a friend). I made a quilted lining out of a soft stretch knit fabric and batting. And yes, the stretch fabric was a mistake – I only picked it because of the colour, and it was so stretchy that it was very difficult to work with. I had to iron fusible interfacing onto the flap lining to make it stable enough to work with.
I used velcro to close the bag, and sewed a ribbon trim on the flap in a colour to match the lining. I had ideas for more embellishments, but I like it being clean and simple.

The outer sleeve and lining before I stitched them together. See my lovely quilting on the lining?

…and open. The laptop fits perfectly inside with no room to spare.

There’s the quilted lining again.

Ribbon detail from the flap. So pretty!
Ugh, I hate the word shroud! Not sure what else to call this though.
Dave’s telescope is designed to be collapsible, so it doesn’t have a solid tube; it just has 3 poles connecting the top and bottom of the telescope.

He asked me to make a removable fabric tube to keep light out of the telescope. It was complicated to design as the scope has bits sticking out – I kept going back to the scope for ‘fittings’ as I started each part.
I made this out of two layers of ripstop nylon, so that no light can get in. The top stays up with elastic loops that pass over the top ring of the scope and fasten around buttons on the shroud. There are 2 slits (reinforced with bias tape) near the top for access to the eyepiece and filter wheel. I left the side seams open at the bottom for the pole supports, and the shroud closes below the supports with velcro.
The shroud can open out flat, and it attaches around the body of the telescope using two zips; one zips up from the bottom of the telescope, and one zips down from the top, so there is room for the finder scope to move up and down vertically by partially unzipping one of the zips.
Lots of work, but it looks pretty good, and, more importantly, it does what it’s supposed to do – keeps stray light out of the telescope.